
Sometimes you take a great photo of something or someone. But the background is not good. it’s either too messy, or it takes away the attention from the main subject. In the past, this was a problem for photographers, but now, in 2023, we can easily change our photos all thanks to the best background remover apps. These apps can remove the background and make the photo look better. You can use your creativity and make your photo look like a work of art.
So, come along as we explore these apps that are changing the way we edit our pictures, letting us bring them to life in ways we never thought possible. Welcome to the world of the best background remover apps of 2023, where your imagination knows no limits.
1) Background Eraser by HandyCloset

What are the features of Background Eraser?
- Automatic background removal
- Manual edge detection
- Variety of tools for refining your selection
- Easy to use
- Free to download
- Available on Android and iOS devices
Some bonus features
- Variety of templates for creating professional-looking product photos
- Share your photos directly to social media
- Save your photos in a variety of formats, including PNG and JPEG
How to use Background Eraser by HandyCloset?
- Open the app and select the photo you want to edit.
- Tap the “Erase” button.
- The app will automatically remove the background from your photo.
- You can use the manual edge detection tool to refine your selection.
- Once you’re happy with the results, tap the “Done” button.
- You can then share your photo directly to social media or save it to your device.
2) Remove.bg by Kaleido AI
Features of remove.bg
- Remove.bg uses artificial intelligence to automatically remove backgrounds from images.
- Produces high-quality results, even with complex backgrounds.
- Simply upload your image and remove.bg will do the rest.
- It is free to use for personal and commercial purposes.
Some bonus features
- Magic Brush: The Magic Brush tool allows you to manually refine the selection of the background to be removed.
- Batch processing: remove.bg allows you to batch process multiple images at once.
- API: remove.bg has an API that allows you to integrate remove.bg background removal functionality into your own applications.
How to use remove.bg?
- Go to the remove.bg website or open the remove.bg app.
- Upload your image.
- remove.bg will automatically remove the background from your image.
- You can use the Magic Brush tool to manually refine the selection of the background to be removed.
- Click the “Download” button to download your image with the background removed.
Some additional tips for using remove.bg
- Use a high-quality photo.
- Make sure your subject is well-lit.
- Use a simple background.
- You can also use remove.bg to remove backgrounds from videos.
3) Adobe Express: Graphic Design

Features of Adobe Express
- Background removal: Automatically remove backgrounds from images, making it easy to create professional-looking product photos, social media posts, and more.
- Templates: Adobe Express offers a wide variety of templates for creating everything from social media posts to presentations to landing pages.
- Design tools: You can use these tools to create custom designs from scratch.
- Collaboration tools: Adobe Express makes it easy to collaborate on projects with others.
Some bonus features
- Adobe Express integrates with Adobe Stock, so you can easily find and add high-quality stock images and videos to your designs.
- Adobe Express integrates with social media, so you can easily share your designs.
- Provides analytics for your designs, so you can see how many people are viewing and engaging with them.
How to use Adobe Express?
- Upload your photo to Adobe Express.
- Select the “Background Removal” tool.
- Use the automatic background removal tool to remove the background from your photo.
- Use the manual edge detection tool to refine your selection.
- Use the “Erase” and “Restore” tools to refine your selection.
- Use the “Save” button to save your photo.
Some additional tips for using Adobe Express
- Use a high-quality photo.
- Make sure your subject is well-lit.
- Save your photo in a high-quality format.
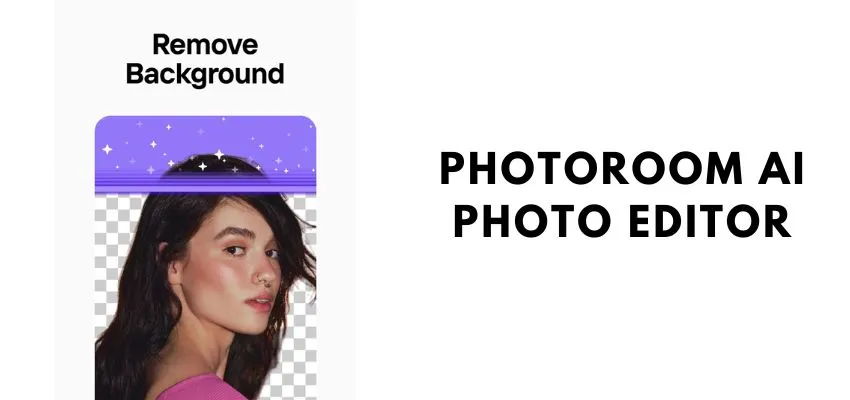
4) PhotoRoom AI Photo Editor
Features of PhotoRoom AI Photo Editor
- Automatic background removal: Photoroom AI can automatically remove the background from your photos with just one tap.
- Magic Retouch: Magic Retouch allows you to remove unwanted objects from your photos, such as people, cars, and logos.
- Instant Backgrounds: Instant Backgrounds allows you to add a new background to your photos with just one tap.
- Instant Shadows: Instant Shadows adds realistic shadows to your photos to make them look more professional.
- Blur Background: Blur Background allows you to blur the background of your photos to make your subject stand out.
- Add Text to Image: Add Text to Image allows you to add text to your photos.
- Round Profile Maker: Round Profile Maker allows you to create round profile pictures for social media.
- Black Background Library: Black Background Library provides a library of black backgrounds for you to use in your photos.
Some bonus features
- Allows you to batch edit multiple photos at once.
- It provides a library of templates for you to use in your photos.
- Photoroom AI provides a variety of filters for you to use in your photos.
- Provides a library of stickers for you to use in your photos.
- Provides a variety of text effects for you to use in your photos.
- Photoroom AI allows you to resize your photos.
- Photoroom AI allows you to crop your photos.
How to use PhotoRoom AI for background removal
- Open Photoroom AI and import your photo.
- Tap the “Background” tool.
- Tap the “Auto” button to automatically remove the background from your photo.
- If the automatic background removal is not perfect, you can use the manual tools to refine the selection.
- Tap the “Done” button to save your changes.
Some additional tips for using PhotoRoom
- For best results, use a high-quality photo with a well-lit subject.
- Make sure the background is not too complex.
- Use the manual tools to refine the selection if the automatic background removal is not perfect.
- Save your photo in a high-quality format.
5) Magic Eraser – Remove Object

Features of Magic Eraser
- Magic Eraser: It artificial intelligence to automatically remove backgrounds from your photos.
- Manual edge detection: If the automatic background removal does not remove the background perfectly, you can use the manual edge detection tool to refine your selection.
- High-quality results: It roduces high-quality results that are perfect for sharing.
Some bonus features
- Crop tool: Magic Eraser Background Editor includes a crop tool that you can use to crop your photo to the desired size.
- Resize tool: Magic Eraser Background Editor includes a resize tool that you can use to resize your photo.
- Rotate tool: Magic Eraser Background Editor includes a rotate tool that you can use to rotate your photo.
- Flip tool: Magic Eraser Background Editor includes a flip tool that you can use to flip your photo horizontally or vertically.
How to Use Magic Eraser Background Editor
To use Magic Eraser Background Editor for background removal, follow these steps:
- Open the Magic Eraser Background Editor app.
- Select the photo that you want to remove the background from.
- Tap the “Erase” button.
- The app will automatically remove the background from your photo.
- If you are happy with the results, tap the “Save” button.
- If you are not happy with the results, you can use the manual edge detection tool to refine your selection.
Some additional tips for using Magic Eraser
- For best results, use a high-quality photo with a well-lit subject.
- If the background is too complex, the app may have difficulty removing it.
- You can use the zoom tool to get a closer look at your selection.
- The undo/redo button can be helpful if you make a mistake.
- You can save your photo in a variety of formats, including JPEG, PNG, and TIFF.
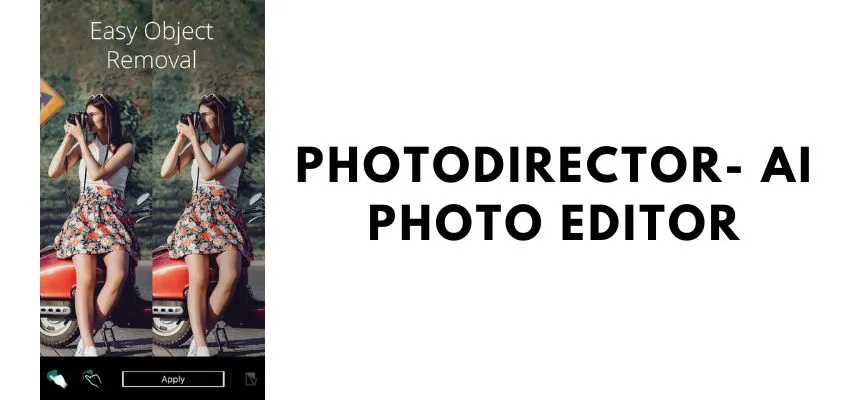
6) PhotoDirector: AI Photo Editor
Features of PhotoDirector
- Automatic background removal: PhotoDirector can automatically remove backgrounds from your photos with just a few taps.
- Manual edge detection: You can also use the manual edge detection tool to refine your selection and remove any unwanted background elements.
- A variety of tools for refining your selection: PhotoDirector includes a variety of tools for refining your selection, such as the brush tool, the eraser tool, and the smudge tool.
- Save your photo in a high-quality format: You can save your photo in a variety of high-quality formats, including JPEG, PNG, and TIFF.
Some additional features
- AI Style Transfer: PhotoDirector can apply a variety of AI-powered style transfers to your photos, such as Van Gogh, Monet, and Picasso.
- Sky Replacement: PhotoDirector can replace the sky in your photos with a variety of different skies.
- Content-Aware Clone, Remove, & Duplicate: PhotoDirector can clone, remove, and duplicate objects in your photos.
- AI Image Enhancer: PhotoDirector can enhance the quality of your photos by suppressing noise, deblues, and upscaling them.
How to use PhotoDirector app to remove background
- Open the PhotoDirector app and select the photo you want to edit.
- Tap the “Background Removal” tool.
- PhotoDirector will automatically remove the background from your photo.
- You can use the manual edge detection tool to refine your selection.
- Once you are happy with the results, tap the “Save” button to save your photo.
Some additional tips for using PhotoDirector
- The better the quality of your photo, the better the results will be.
- PhotoDirector will need to be able to clearly see the difference between your subject and the background in order to remove it effectively.
- If the background is too complex, PhotoDirector may have difficulty removing it.
7) PhotoCut Pro Remove Background

Features of PhotoCutt Pro
- Automatic background removal: PhotoCut App uses AI to automatically remove backgrounds from your photos. This makes it easy to remove even complex backgrounds without any manual editing.
- Manual edge detection: If you need more control over the background removal process, you can use the manual edge detection tool to fine-tune the selection.
- Erase unwanted objects: PhotoCut App also lets you erase unwanted objects from your photos. This is a great way to remove distractions from your photos or to create a more focused look.
- Cut out specific elements: You can also use PhotoCut App to cut out specific elements from your photos. This is a great way to create stickers, memes, or to isolate elements for further editing.
- Multiple templates: PhotoCut App offers a variety of templates for creating professional-looking photos, social media posts, and collages.
Some additional features
- Stickers and clipart: PhotoCut App includes a library of stickers and clipart that you can add to your photos.
- Text overlays: You can also add text overlays to your photos.
- Filters: PhotoCut App includes a variety of filters that you can apply to your photos.
- Adjustments: You can also adjust the brightness, contrast, saturation, and other settings of your photos.
How to use PhotoCut App for background removal
- Open PhotoCut App and import the photo you want to edit.
- Tap the “Background Removal” tool.
- PhotoCut App will automatically remove the background from your photo.
- If you need more control over the background removal process, you can use the manual edge detection tool.
- Once you are happy with the background removal, tap the “Done” button.
- You can now save your photo or continue editing it with other tools.
Some additional tips for using PhotoCut App
- Use a high-quality photo for best results.
- Make sure your subject is well-lit.
- Use a simple background for best results.
- Use the manual edge detection tool to refine the selection.
- Save your photo in a high-quality format.
8) Photoshop Express Photo Editor

Features of Photoshop Express
- Background Removal: Photoshop Express’s background removal tool is one of its most popular features. It uses artificial intelligence to automatically detect and remove the background from your photos.
- Image Editing: Photoshop Express offers a variety of image editing tools, including brightness, contrast, saturation, and sharpness adjustments. You can also crop, rotate, and resize your photos.
- Filters: Photoshop Express has a variety of filters that you can use to enhance your photos. These filters include black and white, sepia, HDR, and vintage.
- Text and Drawing Tools: Photoshop Express includes text and drawing tools that you can use to add text, shapes, and lines to your photos.
- Sharing: You can share your photos directly from Photoshop Express to social media, email, or messaging apps.
Some additional Features
- Edge Refinement: Photoshop Express’s edge refinement tool allows you to refine the edges of your background removal. This can be helpful for ensuring that your subject is perfectly separated from the background.
- Hair Detail Preservation: Photoshop Express’s hair detail preservation feature helps to preserve the details of your hair when removing the background from your photos.
- Multiple Background Removal Options: Photoshop Express offers multiple background removal options, including automatic, manual, and color-based removal.
- Support for Multiple File Formats: Photoshop Express supports a variety of file formats, including JPEG, PNG, TIFF, and RAW.
How to Use Photoshop Express for Background Removal
- Open your photo in Photoshop Express.
- Tap the “Background Removal” tool.
- Photoshop Express will automatically detect and remove the background from your photo.
- You can use the edge refinement tool to refine the edges of the background removal.
- If you are not satisfied with the automatic background removal, you can use the manual removal tool to remove the background yourself.
- Once you are satisfied with the background removal, tap the “Done” button.
- You can now save your photo or share it directly from Photoshop Express.
Some additional tips for using Photoshop Express
- Use a high-quality photo for the best results.
- Make sure your subject is well-lit.
- Use a simple background for the best results.
- Zoom in on your photo to get a better look at the edges of the background removal.
- Use the edge refinement tool to refine the edges of the background removal.
- Use the hair detail preservation feature to preserve the details of your hair.
- Experiment with different background removal options to find the one that works best for your photo.
9) PicWish: AI Photo Editor

Features of PicWish AI Photo Editor
- Automatic Background Removal: No need to manually select the background or draw around your subject.
- Precision Edge Detection: This ensures that your subject is cut out precisely from the background.
- Multiple Background Removal Modes: Auto, Portrait, and Landscape. Each mode is optimized for specific types of images, ensuring the best possible results.
- Batch Background Removal: PicWish can process up to 30 photos simultaneously.
- Customize Background Removal: If the automatic background removal is not perfect, you can use PicWish’s manual tools to refine the edges of your subject.
- Change Background Color or Add Custom Background: Replace the removed background with a solid color or choose from a variety of preset background images.
Some additional features of PicWish AI Photo Editor
- AI-Powered Photo Enhancer: It can improve details, sharpen images, and adjust brightness, contrast, and saturation.
- AI Art Generator: Create unique and artistic images from your photos or text descriptions using PicWish’s AI art generator.
- Photo Retouch Tools: Remove blemishes, smoothen skin, and adjust facial features with PicWish’s photo retouch tools.
- Image Resizing and Cropping: Resize, crop, and rotate your photos to the desired dimensions.
- Image Compression: Reduce the file size of your photos without compromising quality.
How to Use PicWish AI Background Remover
- Launch the PicWish app and tap on the “Background Removal” icon.
- Select the photo from your device’s gallery or camera roll.
- PicWish will automatically analyze your photo and remove the background. This process may take a few seconds depending on the complexity of the image.
- If the automatic background removal is not perfect, you can use PicWish’s manual tools to refine the edges of your subject. Use the “Erase” and “Restore” brushes to carefully remove or add pixels.
- Once you are satisfied with the results, tap on the “Save” button to save the photo to your device.
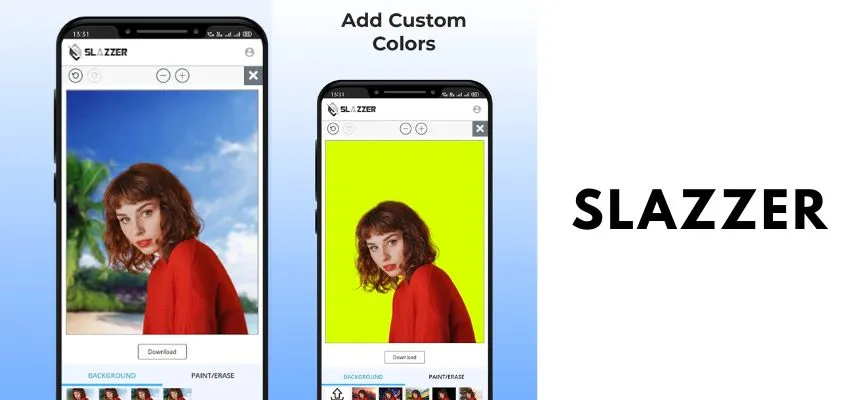
10) Slazzer – Image bg Remover
Features of Slazzer Image bg Remover
- Automatic Background Removal: Slazzer’s AI algorithms automatically detect and remove backgrounds from images, making the process quick and effortless.
- Manual Edge Detection: For more precise results, Slazzer provides manual edge detection tools, allowing you to fine-tune the selection and ensure that the desired subject is accurately isolated.
- Batch Processing: Slazzer streamlines the process of removing backgrounds from multiple images simultaneously, saving you time and effort when dealing with large batches of photos.
- Transparency Preservation: Slazzer maintains the transparency of images, allowing you to seamlessly integrate the isolated subject into other backgrounds or designs.
- Various Output Formats: Slazzer offers a variety of output formats, including PNG, JPEG, and TIFF, ensuring compatibility with various applications and platforms.
Some additional features
- Background Replacement: Replace the removed background with a new background of your choice, creating a fresh and visually appealing image.
- Image Editing: Enhance your images further with Slazzer’s built-in image editing tools, including brightness, contrast, and saturation adjustments.
- Plugins and Integrations: Slazzer integrates seamlessly with various design and editing software, including Adobe Photoshop, Sketch, and Zapier, expanding its functionality and compatibility.
How to use Slazzer for background removal
- Upload Image: Upload the image from which you want to remove the background.
- Automatic Background Removal: Select the “Automatic” option, and Slazzer’s AI will automatically remove the background from your image.
- Manual Edge Detection (Optional): For more precise results, select the “Manual” option and use the edge detection tools to refine the selection.
- Download and Save: Once satisfied with the background removal, download and save the image in your preferred format.
Also Read: How To Strengthen Your Marketing Efforts – From Stress To Strategy